Skip to primary navigation
Skip to main content
Skip to primary sidebar
Michele Made Me
Home
Blog
About
Press
Shop
Quilts
Tutorials
Christmas crafts
denim
fibre
home and garden
kids
miscellaneous
paper crafts
plastic crafts
seasonal crafts
sewing
Series
And Then There Were Tree
Candy Wrapper Chain
Drop-Dead Denim
Feast of The Flower
Five Little Things
Halve a Circle
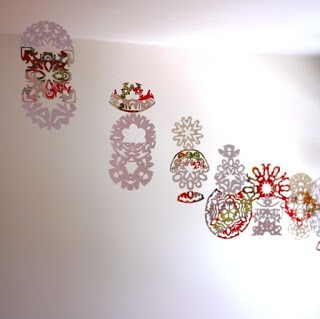
Junkmail Snowflakes
Loving Is Listening
Merry Little Christmas Ornament
My Tiny Brain Wave
Old Towel New
Ornament-ED
Situation Christmas Ornament-ation
The Box Chain
The Great Tissue Box Challenge 2010
You Guest It
Contact
Archives for December 2010
Merry Christmas To You!
Just for Fon-t!
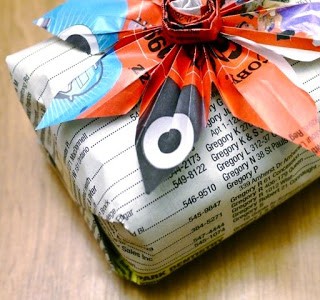
Tutorial: Quick and Pretty Junk Mail Gift Bow
A Giveaway Winner AND… AND A Fresh New Feature
For My Special Secret Quilting Person
Grandma Stop Reading This NOW!
Gadzooks, It’s a Giveaway!
Snowflake Mashup
Tutorial – Winter Wonderlantern
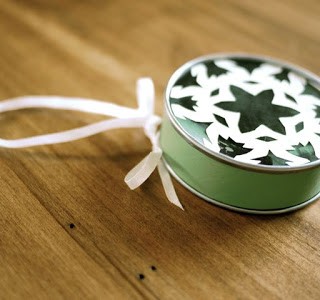
Juicy Little Gift Boxes
Series 3 – SITUATION CHRISTMAS ORNAMENT-ATION #5
The Boy’s Advent Clock Calendar