Is it really only a couple of little weeks away? School days again? The boy has grown so much over the last few months. He needs all new clothing. He needs a new lunchbox. He needs a fall jacket. He needs indoor shoes. He needs outdoor shoes. So many things for ONE little person!
There is one thing I can check off his list… A painting-arts-and-craftsy-cover-everything smock… I can make one from a thrifted shirt!!! I can do that!
Are you with me?
Yeah, let’s do it!
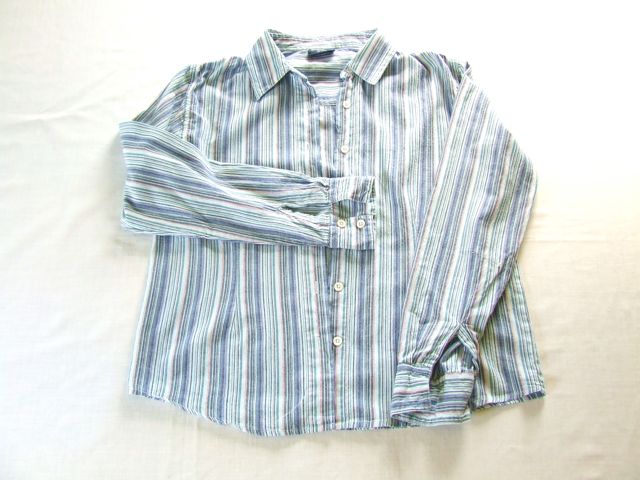
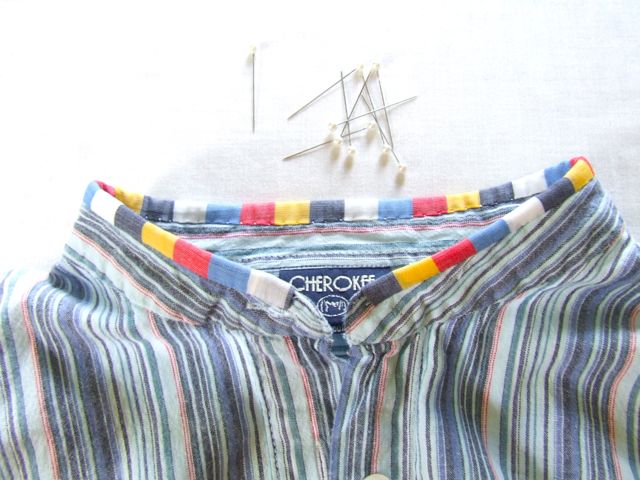
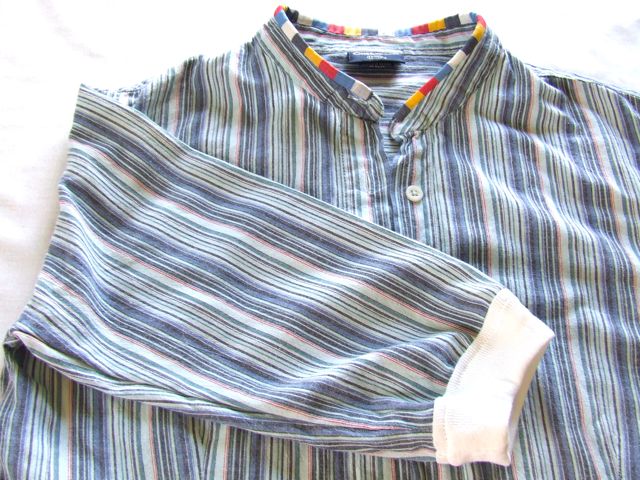
Okay, so take the shirt. It’s a ladies small.
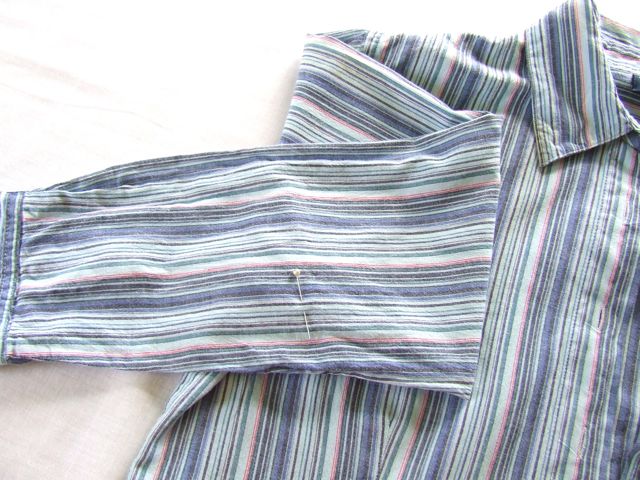
Let’s put it on the boy to determine the correct sleeve length ending at the wrist. And then place a straight pin there.
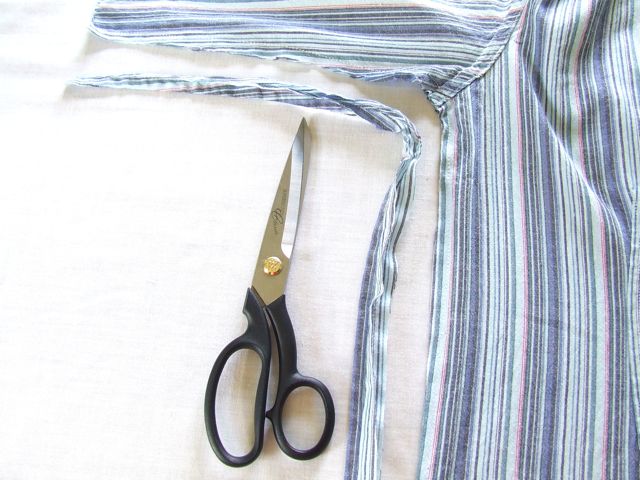
Now let’s cut the sleeve where we had placed that pin. And cut the other sleeve the same length.

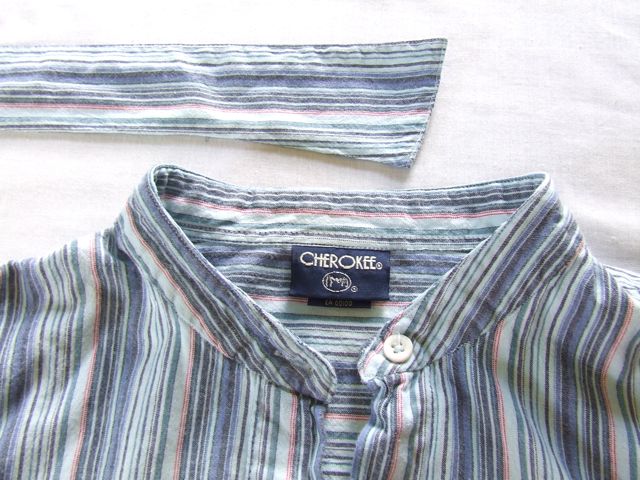
We need to cut off that huge nasty collar immediately! Above where it meets the neckline. Great!
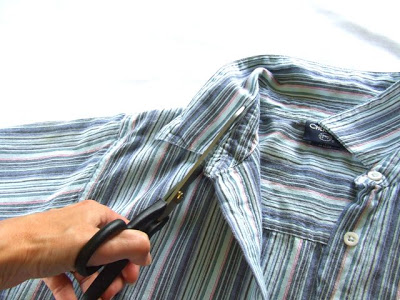
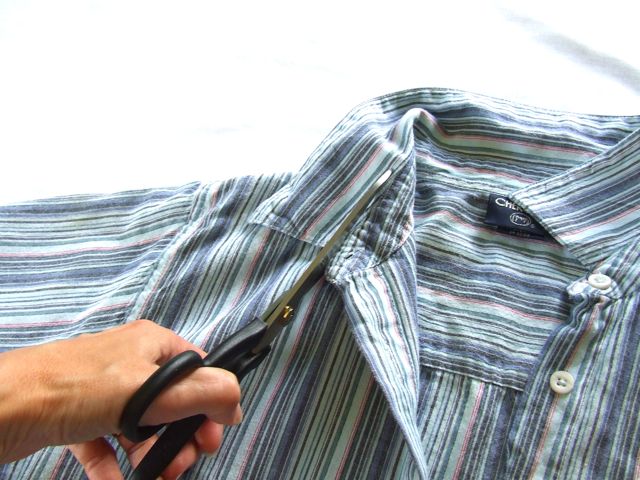
Shirt – Collar = Comfy.
Now let us flip that shirt inside out and place pins along the inner sleeve edge and down the side, all along the seam.
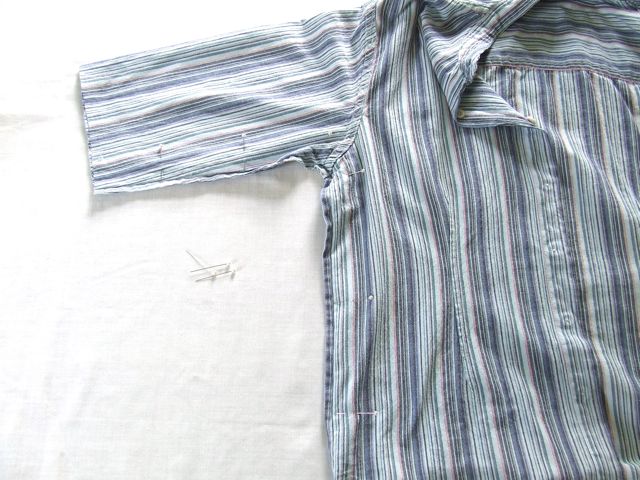
And machine-stitch a NEW seam about 1 inch from the existing seam along where the pins were placed. We are taking the shirt in, to fit the boy. It will still be big but that’s the plan!
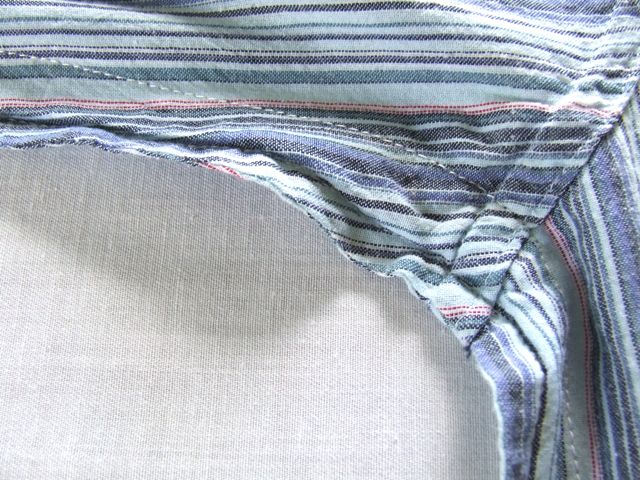
Now let’s cut off the excess! I like this part.
Binding is definitely needed to finish off that collar edge. Let’s take some colourful fabric and tear off a 1-1/2 inch strip a little longer than the collar.

And pin the binding to the shirt collar, right sides together, folding and pinning the very ends of the binding up.
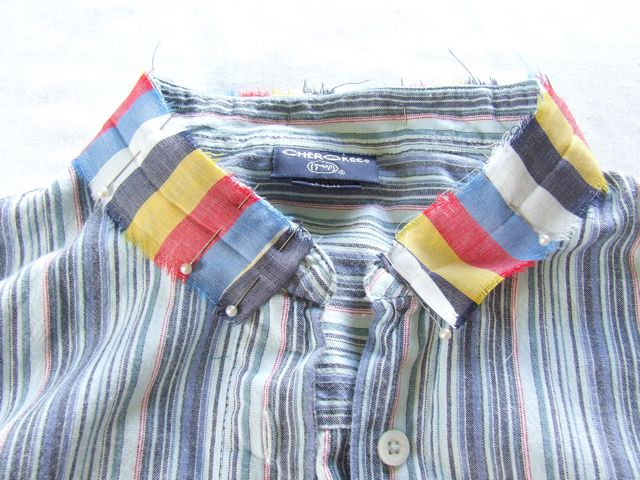
We can now machine-stitch the binding to the shirt with a 1/4 inch seam allowance.
Now let’s take out all those prickly pins and fold the binding around and over the collar edge and pin it in place nicely and neatly.

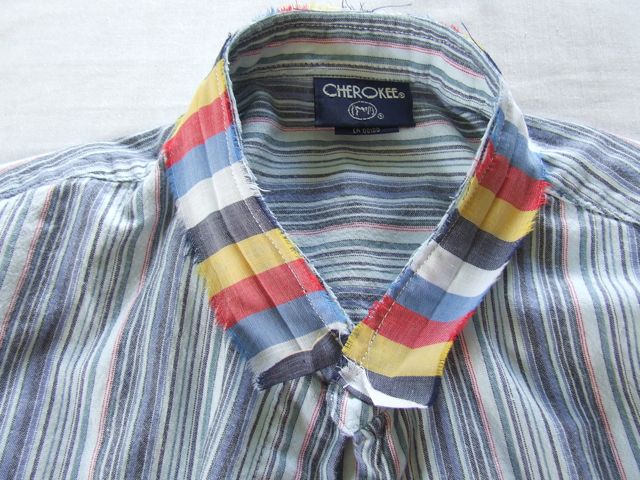
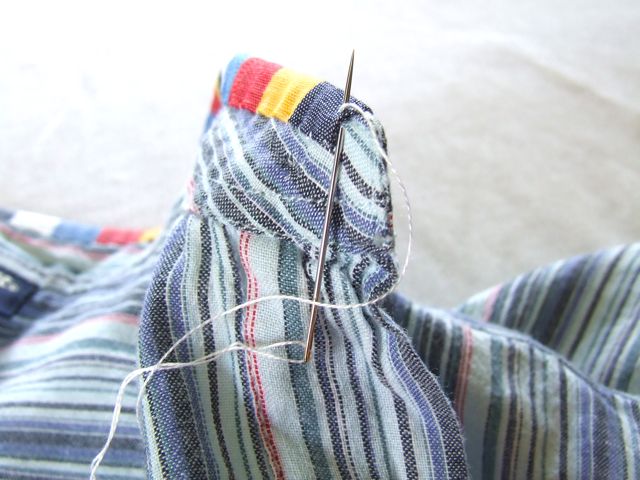
Here we could machine-stitch the binding on, but we’ve obviously decided to hand-stitch it in place. It does look good this way…
Nice work.
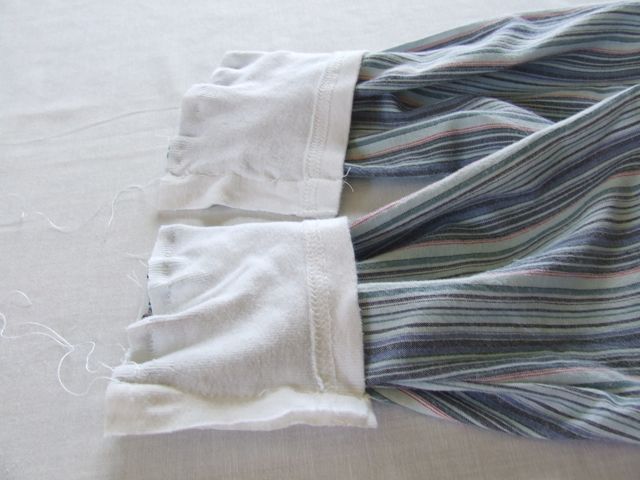
Now, this tiny little cotton knit camisole hasn’t fit anyone in ages. Let’s cut off the bottom 4 inches.
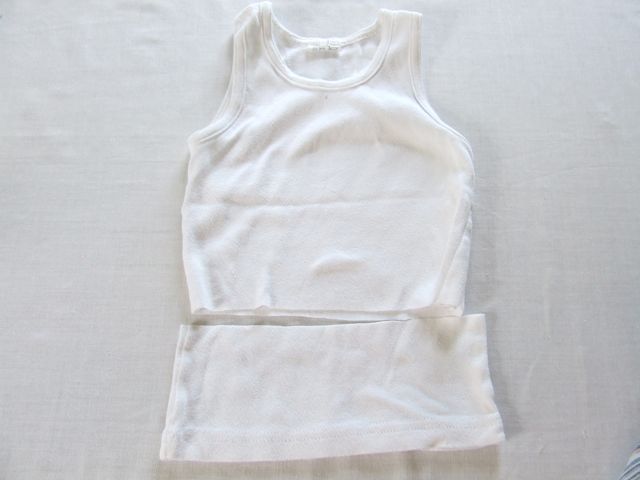
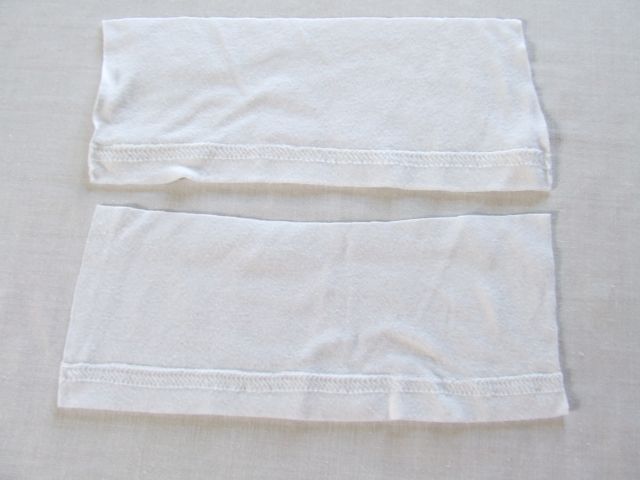
And take that bottom piece and cut it into 2 equal pieces.
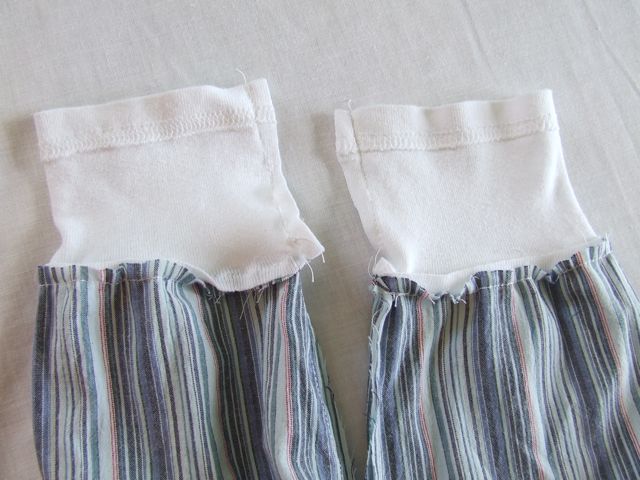
Let’s pin each cotton-knit piece along the edge of each sleeve right sides together, stretching the cotton-knit around the sleeve as it is pinned. This will make a stretchy fitted cuff.
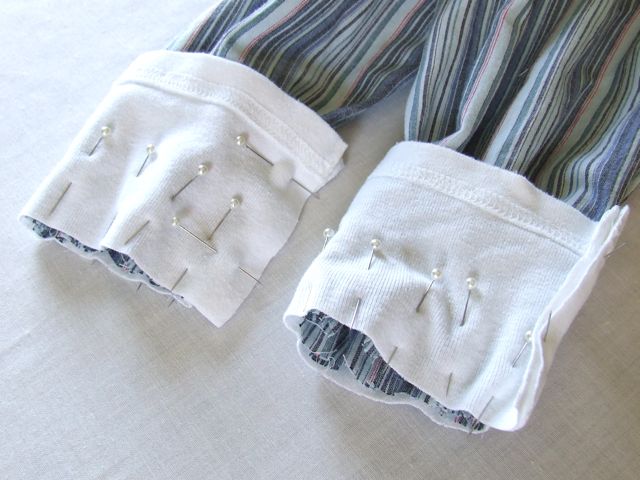
Should we machine-stitch the cuff onto the shirt with a 1/4 inch seam allowance, again stretching it as it is sewn? Yes, let’s do that!
Let’s flip the shirt inside out!
And taking each cuff in turn and folding it over…

We can pin the cuff to the inside of the sleeve just past the stitching line…
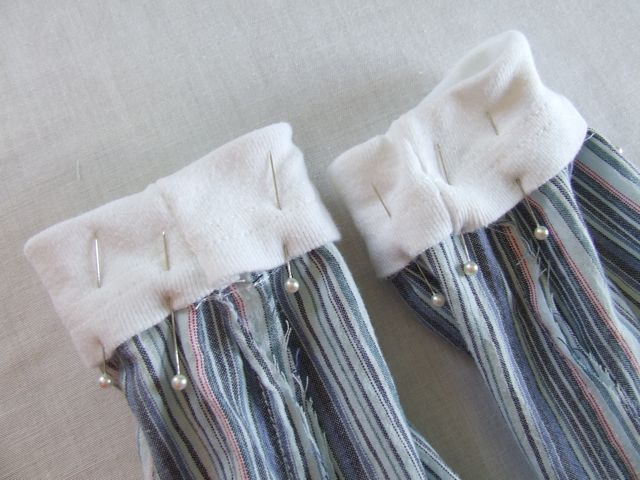
And machine-stitch the cuff in place 1/4 inch from the other seam so that when the shirt is flipped over, the cuff looks like this! Good. Nice.
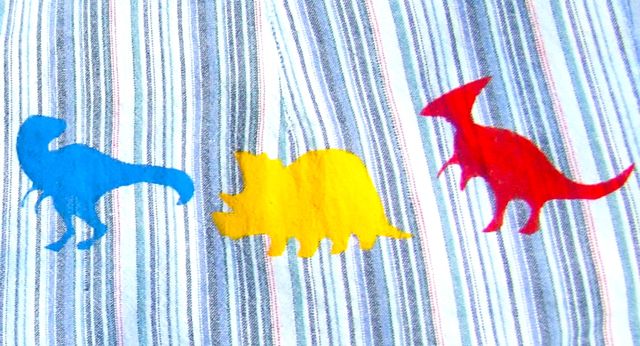
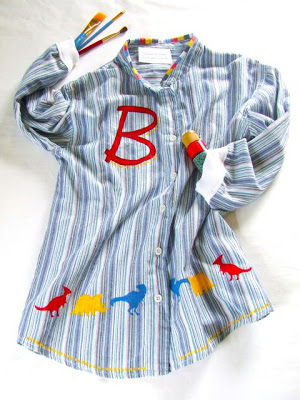
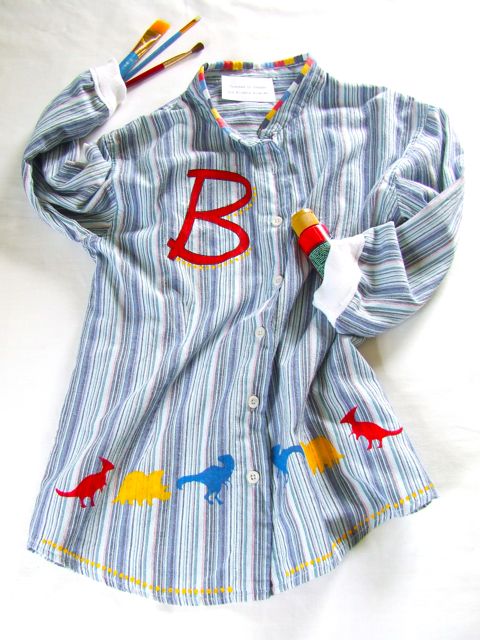
Now the fun begins. Embellishing the smock with dinosaurs ’cause the boy cannot get enough of those guys at the moment!
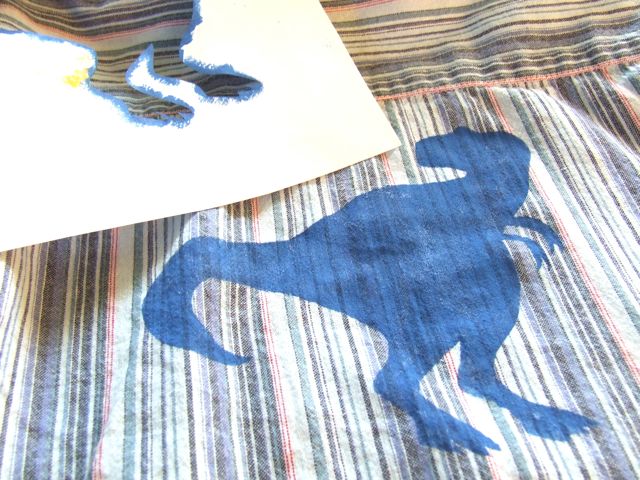
So after some research and sketching and tweaking, we have these little dinosaurs drawn onto plain white paper.
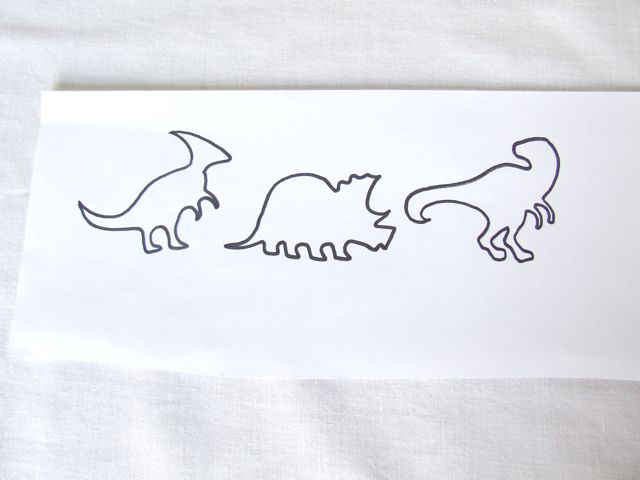
Let’s cut them out to make a stencil. Now using a glue stick, we must apply glue only to the very edge of the stencil and place it gluey-side down onto the shirt.
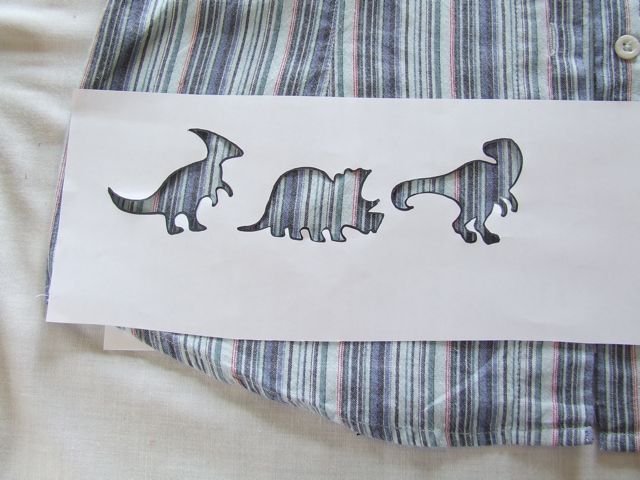
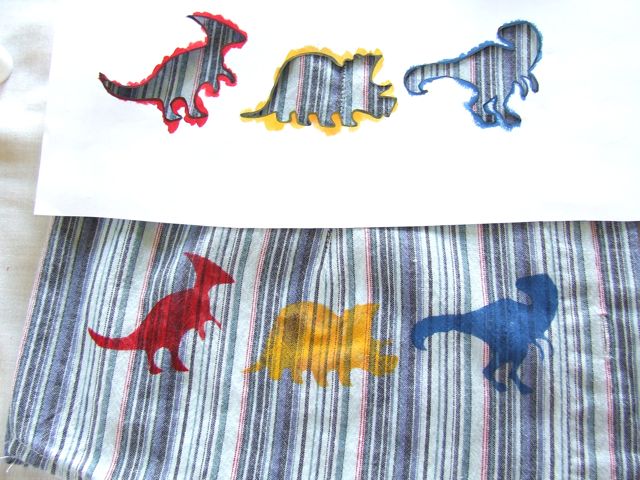
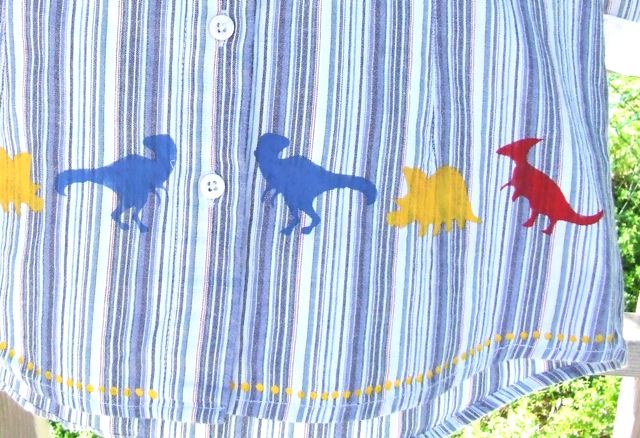
Now using liquid acrylic paint and a small brush, we dab the paint into the stencil. Leaving the stencil in place, we allow the paint to dry. When dry, a second coat is applied and then the stencil is removed. We reuse the same stencil many times, and place the design strategically around the shirt!
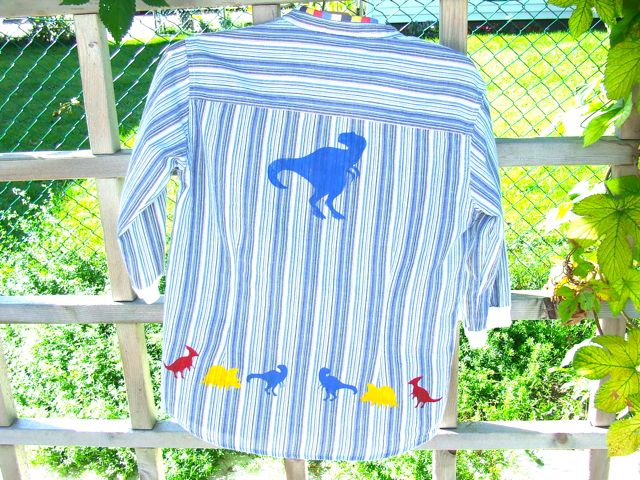
Let’s make a large dino stencil for the centre back of the shirt.
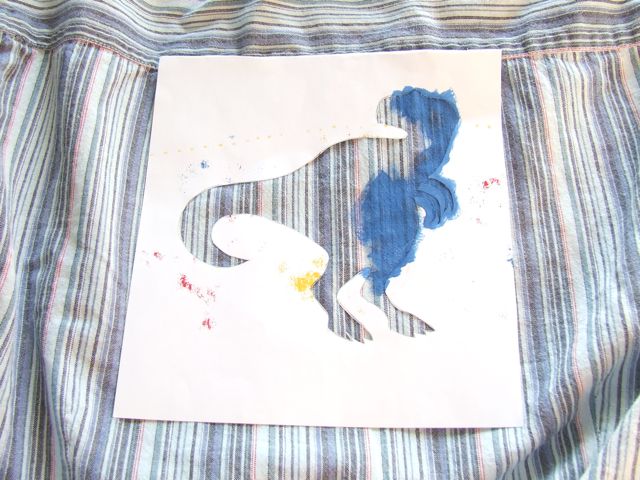
And apply it in the same way as the other stencil.
We can do the same thing with the boy’s initial, placing it on the front of the shirt.
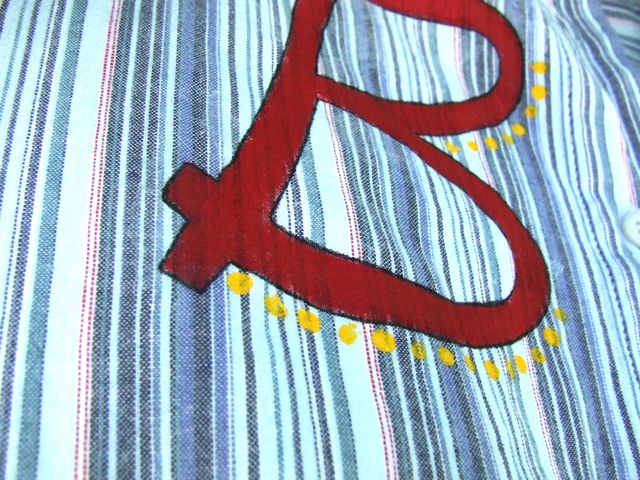
And add some little dots for fun!
And with that, the dinosaur painting smock is done! Yippee!
Let’s see what we’ve got… here’s the back.
And the front!
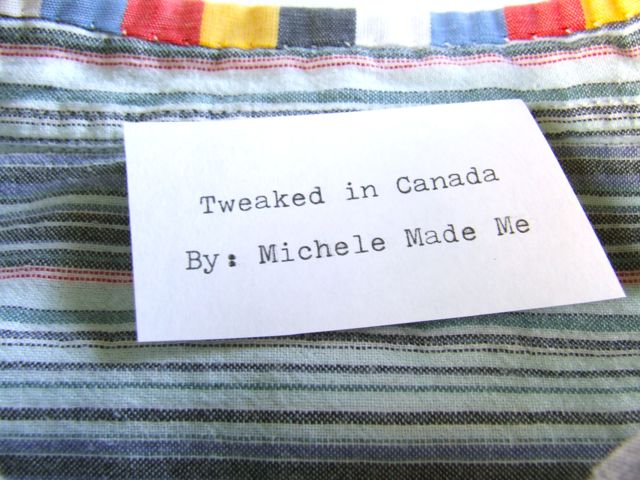
Perhaps a new label would do the trick?
Have an enjoyable day!
P.S. I am a linker.


Dinotastic, Fabulosaurus, truly Superaptor!!
😀
xxh
That's great – I love it. I have started to collect up old clothes (until recently everything went out the house!!) – I even buy some so I can do more 'upcycling'….. this is a lovely idea and I think I will be using it … thanks
Hugz
Fiona
They seem to grow overnight sometimes don't they. This a great way to re-purpose a shirt and I love your labels!
Very fun! I am sure he will wear it with pride!
What a beautiful result, I love this! It's really too cool to get spattered with paint – tell him to be very careful…kidding. Love that fun styled photo with paintbrushes, and your label!
Epoustouflant ! Quel talent ! And …How do you find the TIME to do all that ?????????????
Really great idea – nice job
http://moemade.blogspot.com/
Really cute, I'm sure any little boy would love this top. Well done!
This is really cool Michele!
So your boy is a dino lover too..