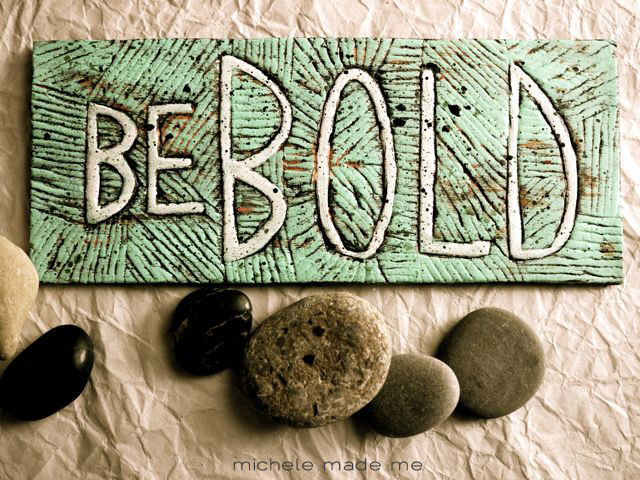
Yes, indeed. It’s a sign made from a foam veggie-slash-meat tray! The kids might even like to join in on this one ’cause it’s quick, it’s easy, it’s messy, and fun as pumpkins.
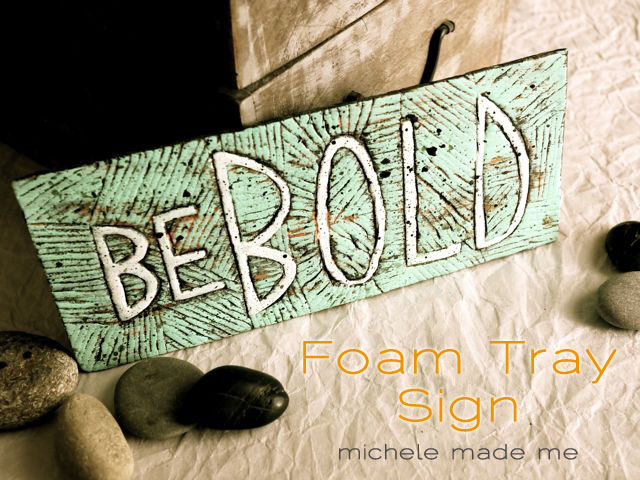
Tutorial: Foam Tray Sign
Step 1: Gather supplies. For this craft you will need: a clean foam tray, pair of scissors, pencil, ruler, ball-point pen, paper, tracing paper, paint, paintbrushes and a toothbrush.
Step 2: Cut off the raised edges of the meat tray.
Step 3: Use your pen and ruler to draw a rectangle on the remaining foam rectangle. Cut along the lines to create a lovely squared-up rectangle.
Step 4: On a piece of paper, draw yourself a sign design. It can be a reminder, a short inspirational message, a name plate, or any crazy word or expression that takes your fancy! Fill the area around the word with a filler design. Anything from cross-hatching (as I’ve done), wavy lines, zig zags, loops, a pattern of dots… etcetera… will work!

Step 5: Transfer your finished design onto a sheet of tracing paper. Place the tracing paper over the foam rectangle, and then gently re-trace your design so that it is transferred to the foam tray. Once you’ve transferred the entire design, remove the tracing paper from the foam rectangle. Re-trace your entire design directly on the foam rectangle with the ball-point pen. Firmly re-trace around the main lettering, and gently re-trace the filler design.
Step 6: Now you’re ready to paint! Choose a bright, saturated colour for the bottom layer of paint. Fill your brush and apply the paint while holding your brush almost horizontally. This way you’ll avoid filling in all the grooves with paint allowing the tray colour to show through. Allow the first layer of paint to dry completely. Apply a lighter second colour of paint in the same exact way. You don’t have to completely cover the bottom layer of paint. Let some of it to show through for a nifty contrasting effect. Let this layer dry as well. Now go over your letters only with a third bright paint colour. And finally, age your sign with a little spatter-painting using a toothbrush and some watered-down black paint.
Well lookee there, you have signage!
Go ahead now… Be bold and try it yourself!
♥M
I have to prepare one with the following words : THANK YOU!!!!!
xxxx Ale
Ohh… I love it!!
Once I tried to use a washed and cleaned chicken foam tray, but the stench would not go away. Ruined my project, but I learned the lesson. I guess a veggie one is a much safer solution, eh?
A few drops of bleach in water will take care of that no problem Maya!
It's beautiful! Love all the layers, they make it look like something so far removed from a foam tray. I must try this tray carving immediately!
it's beautiful and easy, thanks for share!
Ho trobo molt original !!!
Una abraçada,
What a fabulous idea!
Another brilliant stroke of your genius, Michele!
~M
Verry nice ! It's so good to see such words.
I like your new header and blog design. The M is perfect!
OMG! I want to make one of these. I can't believe that's a foam tray! It's so awesome! I really love it! Thanks for sharing this DIY!
How much fun as that – I have loads of foam trays!!
Oh, my gosh. I LOVE this! I'll never be able to toss one of those trays again. I love the small but beautiful ways you create to save the environment!